

Fitting JagBT Vision
The rear view camera module goes in line at the navigation DVD drive in the boot. Eight steps, three tools, and no cutting of the vehicle harness.
-
Get to the navigation DVD drive
- Open the boot.
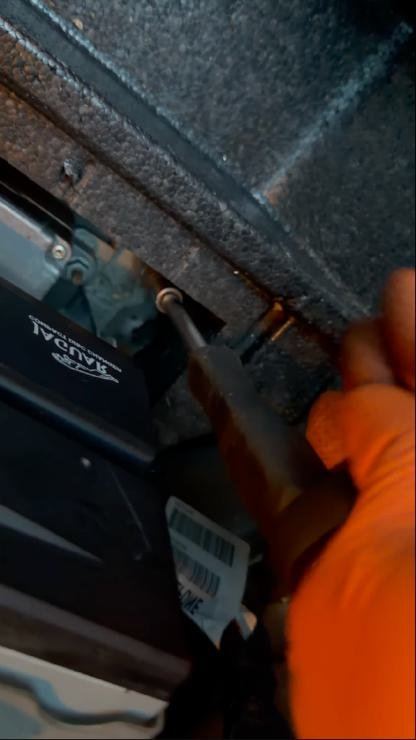
- Remove the left hand side boot carpet to expose the navigation DVD rack.
- Remove the rack's fixing bolts: four 10mm bolts and one 8mm bolt.
- Carefully pull the DVD rack forward to reach the DVD unit.
-
Slide the DVD drive out
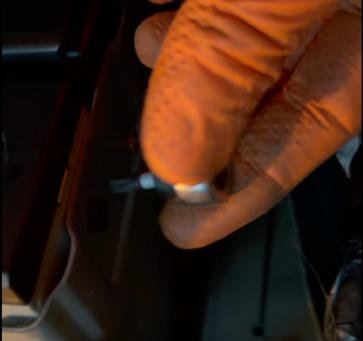
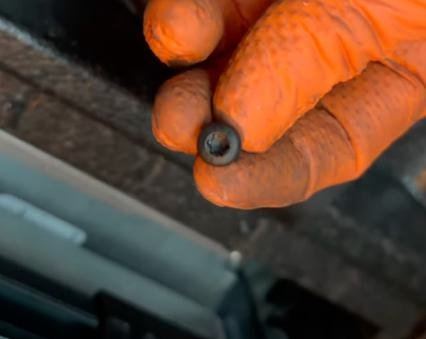
- Remove the four Torx T25 screws that hold the DVD drive to the rack.
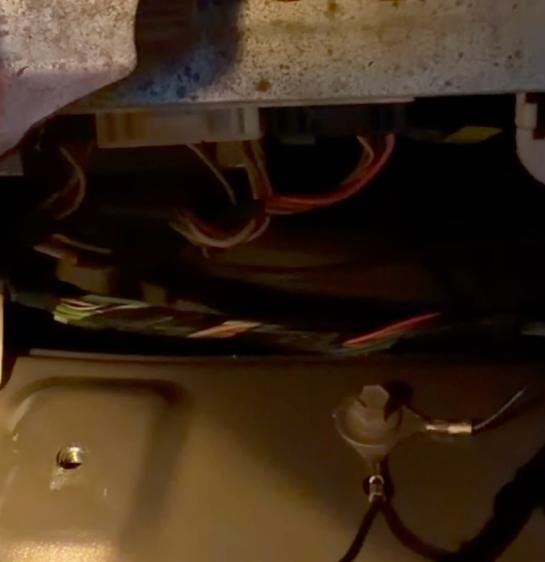
- Slide the DVD drive forward until the connectors at the back are easy to reach.
-
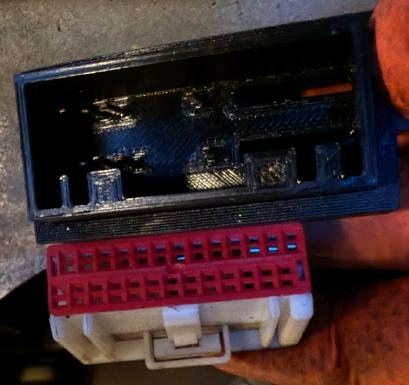
Plug in JagBT Vision
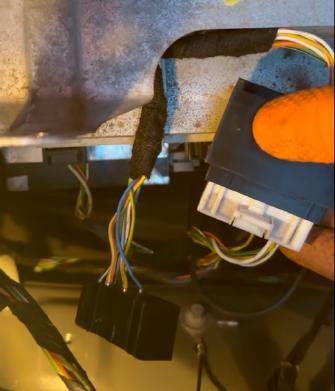
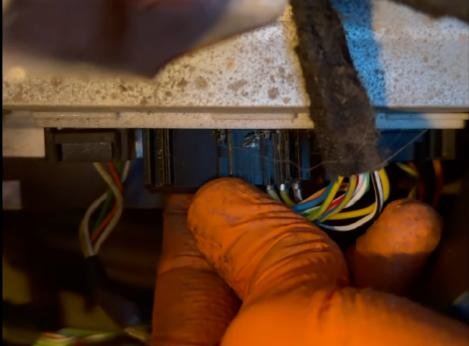
- Disconnect the white connector from the back of the DVD drive.
- Connect that car connector to the JagBT Vision input connector.
- Connect the JagBT Vision output connector to the DVD drive.
JagBT Vision sits in line with the factory wiring. No cutting or modification of the vehicle harness is needed.
-
Connect the camera
- Connect the camera's RCA video connector to the JagBT Vision module.
- Connect the camera's jack connector to the JagBT Vision module.
-
Make the power connections
- Disconnect the rear left light cluster connector.
- Make the connections below for your car.
X-Type
JagBT Vision Goes to Ground (neutral) Black wire Reverse trigger (positive) Green and black wire 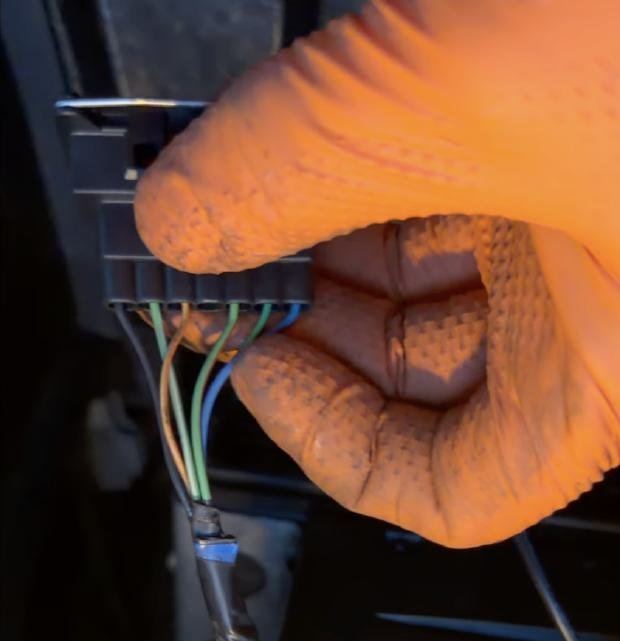
XJ (X350)
JagBT Vision Goes to Ground (neutral) DVD drive's larger black connector, pin 2 (black) Reverse trigger Tail light connector, orange wire 12V (positive) DVD drive's larger black connector, pin 11 (green and yellow) 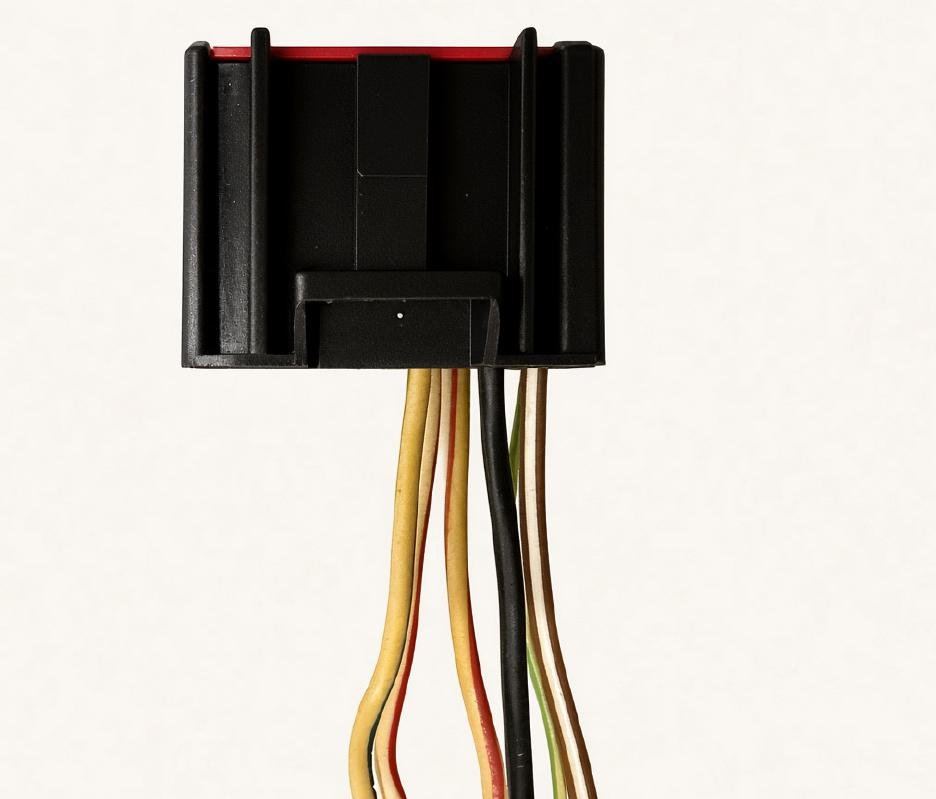
Make sure every connection is mechanically secure. These connections give the camera its reverse activated power and trigger. Fitting an S-Type? Email infojagbt.com and we will send you the connections for your car.
-
Fit the camera
- Install the camera where you want it.
- Route the camera wiring safely to the boot area.
Keep the wiring away from sharp edges, moving parts and heat.
-
Put it back together
- Put the DVD drive back in place and refit the four Torx T25 screws.
- Push the DVD rack back into its original position.
- Refit the four 10mm bolts and the one 8mm bolt.
- Refit the left hand side boot carpet.
-
Test it
Switch the ignition on and select reverse. The camera picture should appear on the factory screen by itself.
That is it. JagBT Vision works with the factory navigation display and needs no coding and no extra control modules.


Stuck on a step? Email infojagbt.com with your car and a photo of the connectors. This guide and the fitting video are at jagbt.com/vision-installation-guide.html